
This blog was running on WordPress on a dedicated Ubuntu 14.04 VM host. When I tried to update the host to Ubuntu 16.04, I broke WordPress. Rather than trying to figure out what went wrong, I decided to just run a new WordPress instance under Docker and move the blog to that.
The transition wasn’t quite as easy as I’d hoped, so here are the steps (and missteps) I followed to finally get it to work.
I first created a directory “blog” and two subdirectories “wp-content” and “db” on a docker host (an Ubuntu 16.04 VM) and brought up a new instance of the WordPress image from the official Docker repository (https://hub.docker.com/_/wordpress/) with the following docker-compose.yml file:
version: '3.1'

services:

  wordpress:
    image: wordpress
    container_name: blog_wordpress
    restart: always
    ports:
      - 5004:80
    environment:
      WORDPRESS_DB_HOST: db
      WORDPRESS_DB_USER: administrator
      WORDPRESS_DB_PASSWORD: '*****'
      WORDPRESS_DB_NAME: blog
    volumes:
      - ./wp-content:/var/www/html/wp-content

  db:
    image: mysql:5.7
    container_name: blog_db
    restart: always
    environment:
      MYSQL_DATABASE: blog
      MYSQL_USER: administrator
      MYSQL_PASSWORD: '*****'
      MYSQL_RANDOM_ROOT_PASSWORD: '1'
    volumes:
      - ./db:/var/lib/mysql
I brought it up (docker-compose up -d), checked the logs (docker-compose logs -f). It looked OK, so pointed my browser at http://d1:5004 (where d1 is the name of the Docker host I brought it up on).
The WordPress installation appeared:
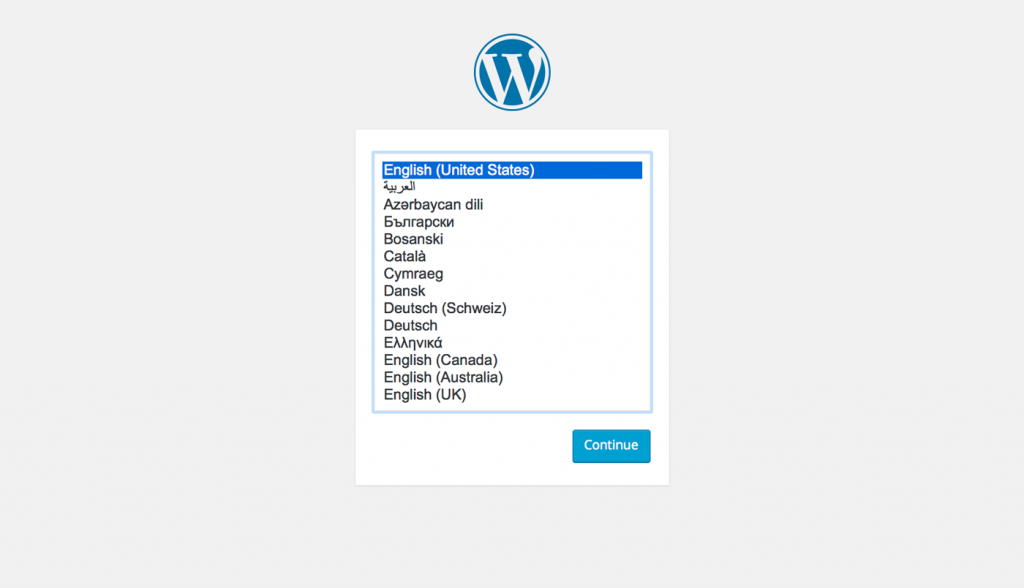
and I went through the installation screen:
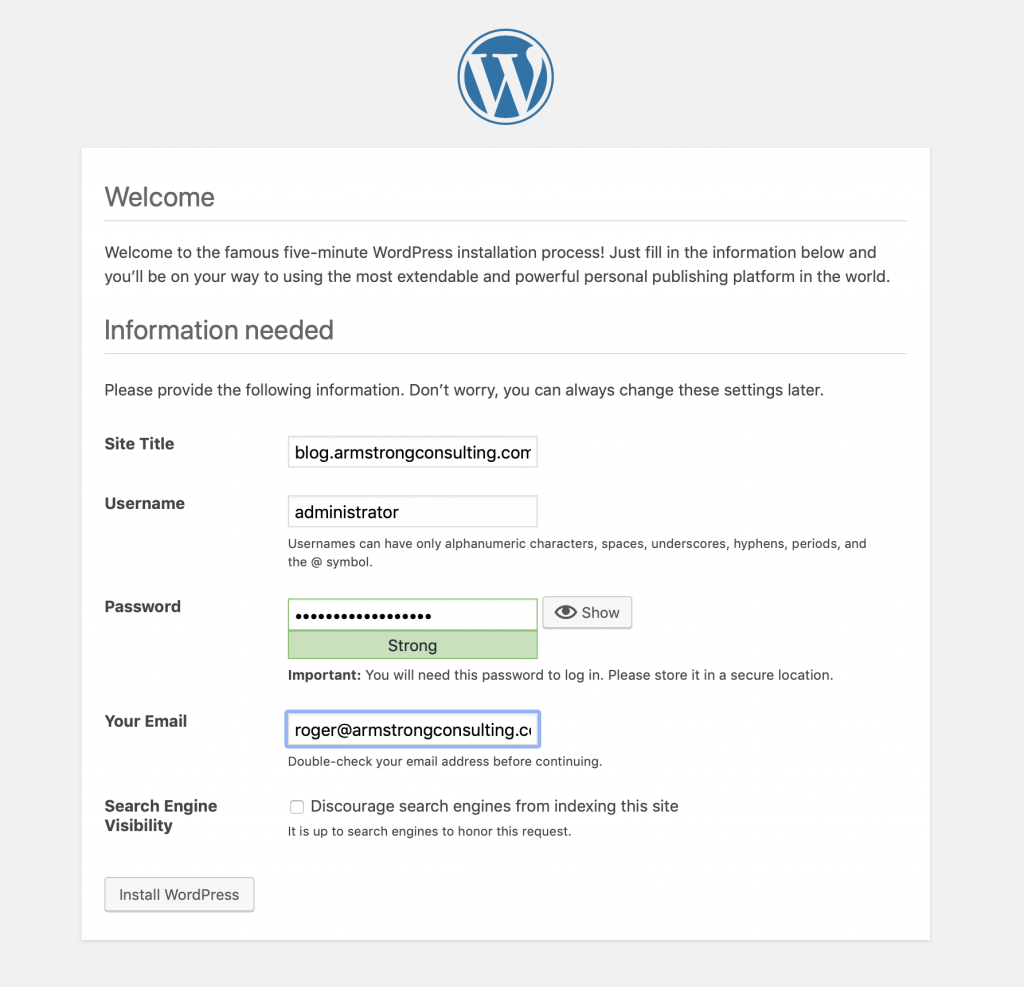
I was then able to login at http://d1:5004:
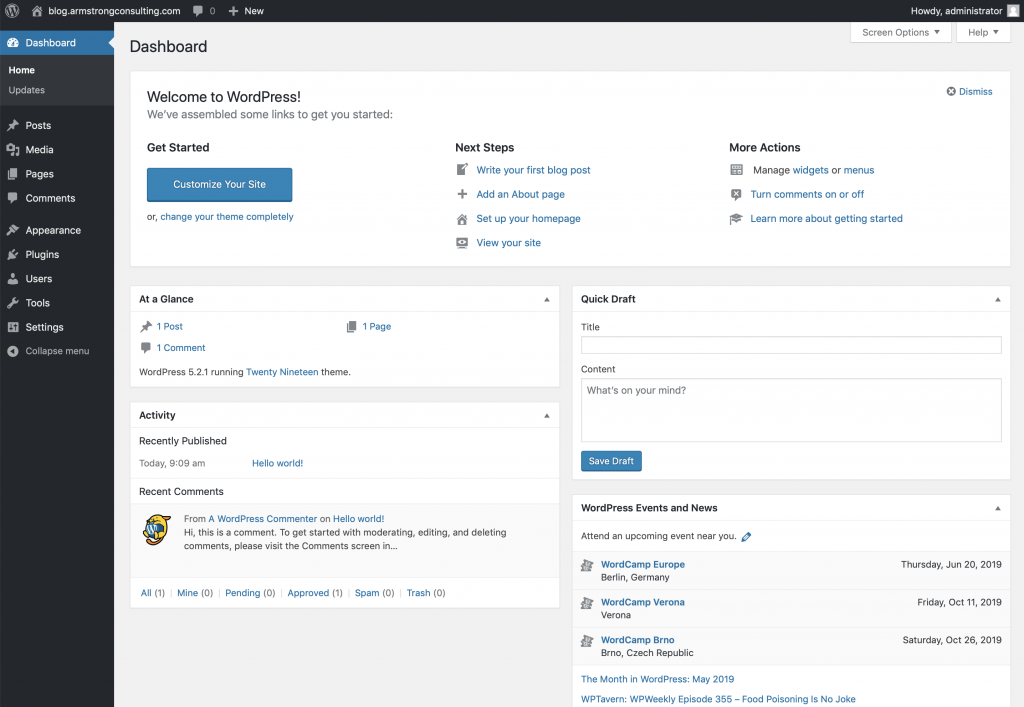
So far, so good! Now I had to figure out how to move over the content from the old blog to the new one. After reading reviews and trying out a few alternatives, I settled on the “All-in-one WP Migration” plug-in which I first installed in the old blog and exported the contents to a file which I downloaded. Now to upload it to the new blog. I tried to install the plug-in in the new blog and ran into the first problem – the plugin installation said WordPress had no write access to the directory where it wanted to install.
After reading around a bit, I found the following solution:
$ docker exec -it blog_wordpress /bin/bash
$ chown www-data:www-data -R *
Note: this problem only occurred on a Linux Docker host – on a mac, I was able to install plugins without this step.
I then installed the plug-in successfully in the new blog and started the upload:
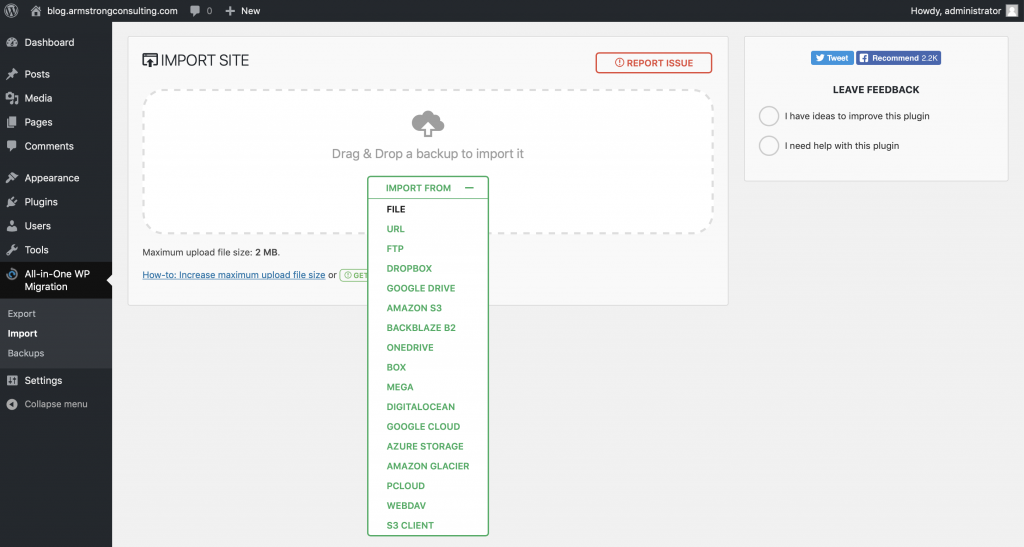
Here I ran into the second problem – the upload limit was 2MB and the migration file was 120MB. The plugin suggested inserting a few lines into the .htaccess file to solve the problem:
$ docker exec -it blog_wordpress /bin/bash
$ nano .htaccess

# insert the following lines
php_value upload_max_filesize 128M
php_value post_max_size 128M
php_value memory_limit 256M
php_value max_execution_time 300
php_value max_input_time 300
Of course, being a Docker container, there’s no nano editor (or even vi), so you’ve got to first do a “apt update” and a “apt install nano”. After refreshing the screen, the limit had increased to 128MB and I imported the migration file.
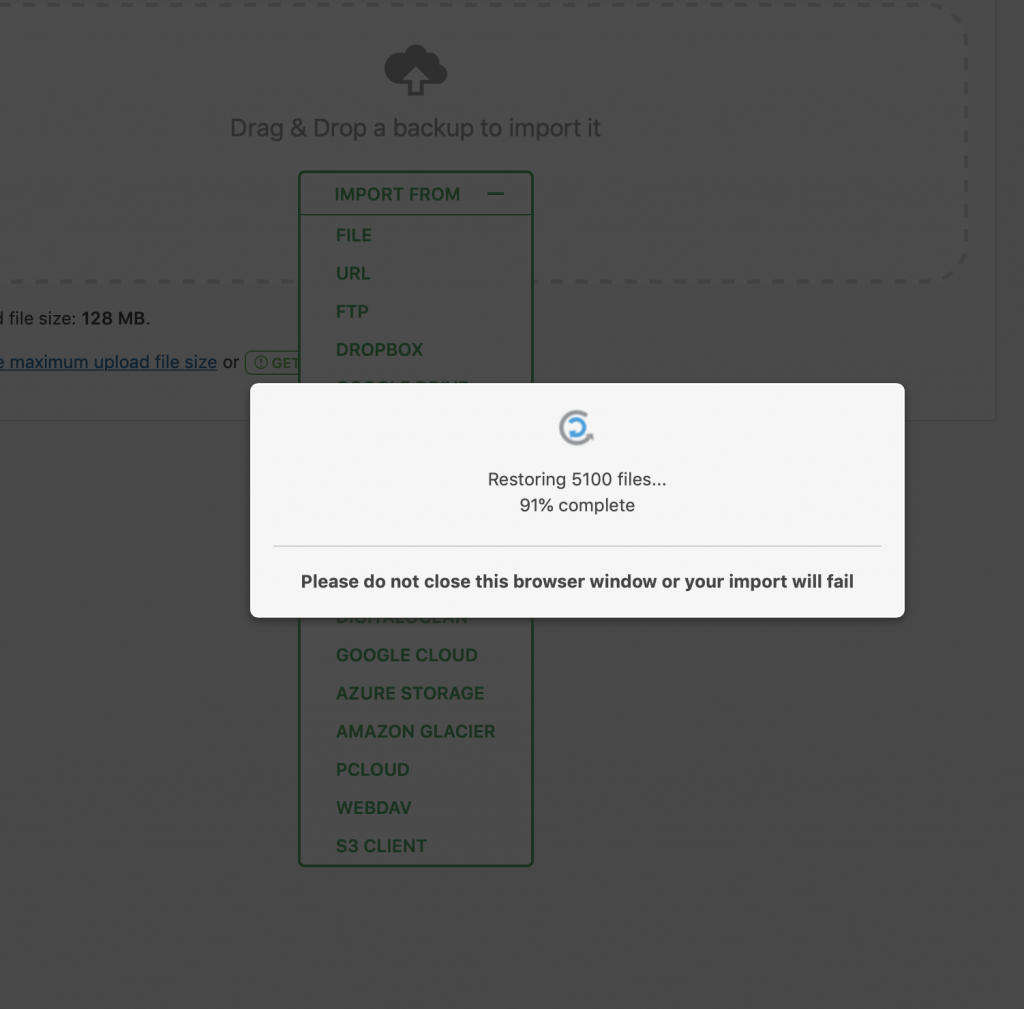
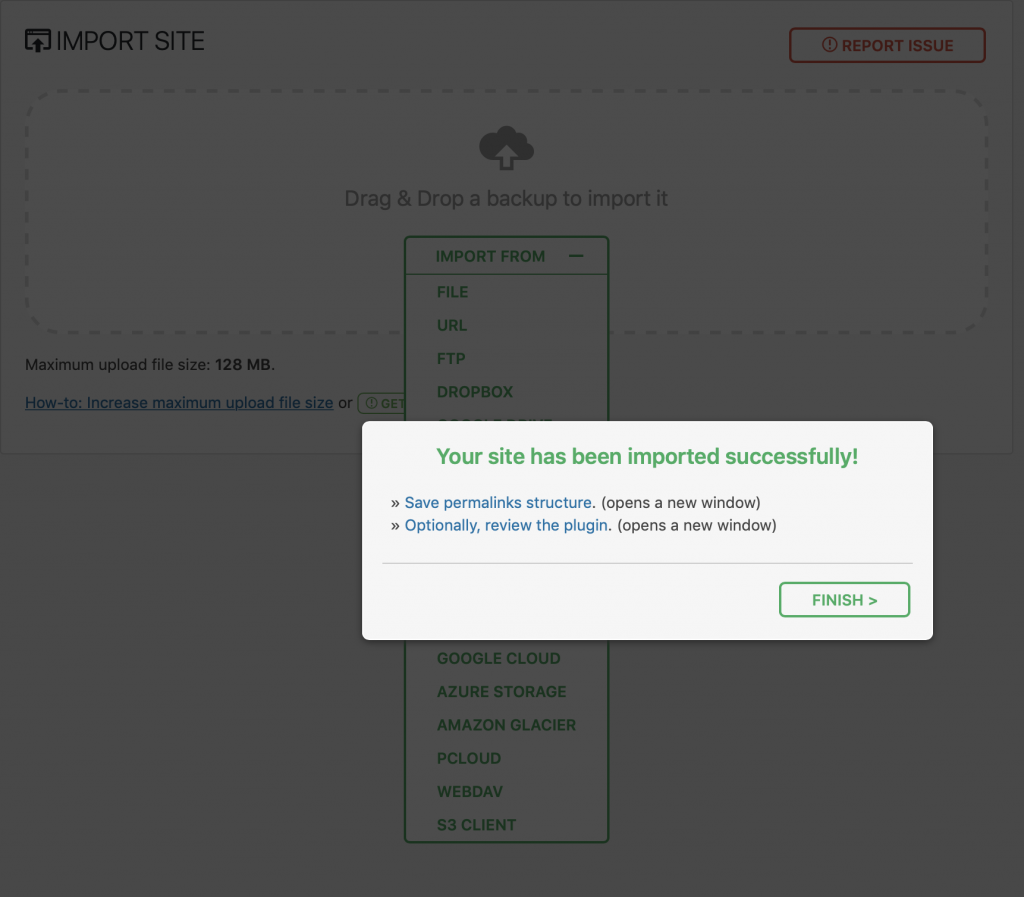
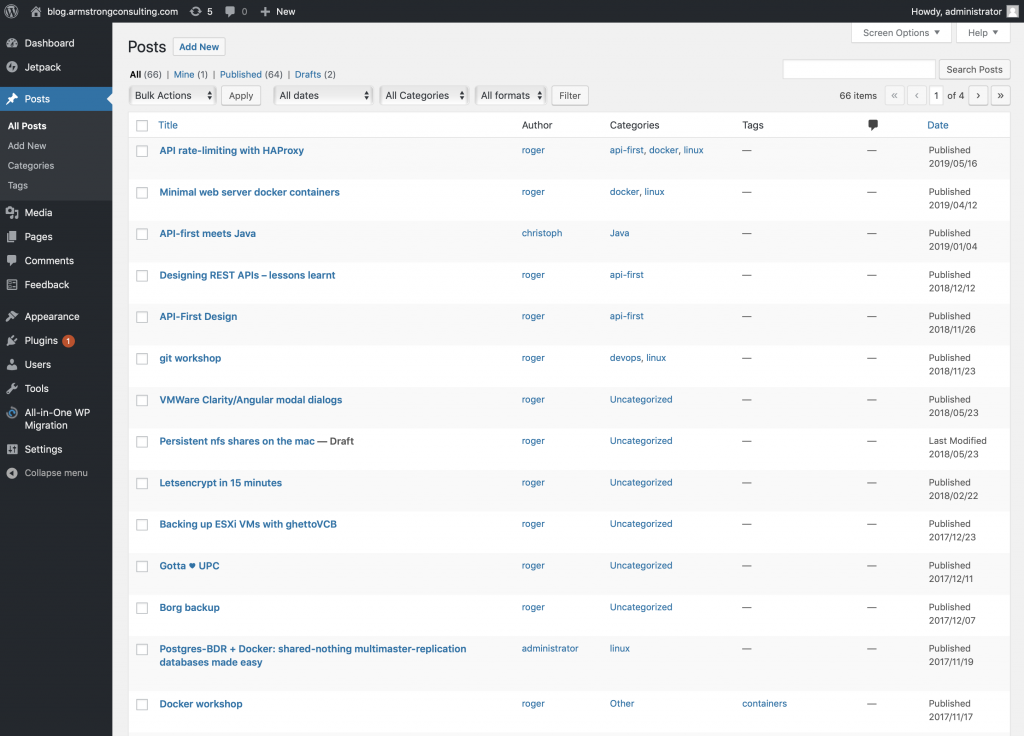
Logging in to the administration screen at at http://d1:5004/wp-admin, it looked like everything had been migrated successfully
Now to get the new site published via our proxy. We’re using HAProxy with SSL termination with LetsEncrypt certs, so I’d need rules to map https://blog.armstrongconsulting.com to http://d1:5004.
backend blog
        server d1 d1:5004

frontend main
        acl host_blog hdr(host) -i blog.armstrongconsulting.com
        use_backend blog if host_blog
I then pointed my browser at blog.armstrongconsulting.com and was dismayed to see that I was redirected to https://blog.armstrongconsulting.com:5004. Ouch! Looks like WordPress somehow remembers the port you installed it at and redirects the browser to it.
I tried to use a Search & Replace plugin to find references to d1:5004 and replace it with blog.armstrongconsulting.com, but I couldn’t get it to work. In the end I gave in and repeated the installation from scratch, but this time with the proxy rules already in place and I repeated the installation using the URL https://blog.armstrongconsulting.com.
My troubles weren’t over though. I immediately ran into another problem. WordPress depends on the “X-Forwarded-Proto” header (set to “https”) to know that its behind a reverse-proxy server which is doing SSL termination (i.e. https into the proxy, but http to the backend). I had to update our HAProxy frontend configuration to add the header to let WordPress know to use https references :
http-request set-header X-Forwarded-Proto https if { ssl_fc }Finally, everything worked. However, the whole experience was much more of a challenge than I would have hoped for. Its a pity that WordPress is such a hassle to install on a different port behind a reverse proxy.
I assume that if you’re a WordPress expert, you’d know how to update the URL correctly in WordPress’s database, but I tried several times and each time ended up with a completely broken installation.